Update 2011:04:10 [As expected the plastic on this canister broke. The canister is so large I didn't have to do anything with it while running for about a month. When I went to check on the internals I found the quick release connectors had joined to the lid and they broke when disconnecting. I have this unit shelved until I find a way to economically update the design.]
I found a recommendation for this large canister filter at Aquarium Gardening. Sorry, couldn't find the post again, so I cannot attribute it properly. I purchased the unit. Ebay seller, "topdogsellers". The unit is a US$60 "Aquarium Canister Filter External CFS 500 GPG 60-100g". Note it is sized at 11.5" x 14.5" x 17". It is BIG.
So here is the scoop. The unit is a nice design. Unit comes with "everything you need" to get it running out of the box. Well, maybe. It is a nice unit, that has been volume low cost manufactured in China. That said, it can be modified to use making it a very good deal.
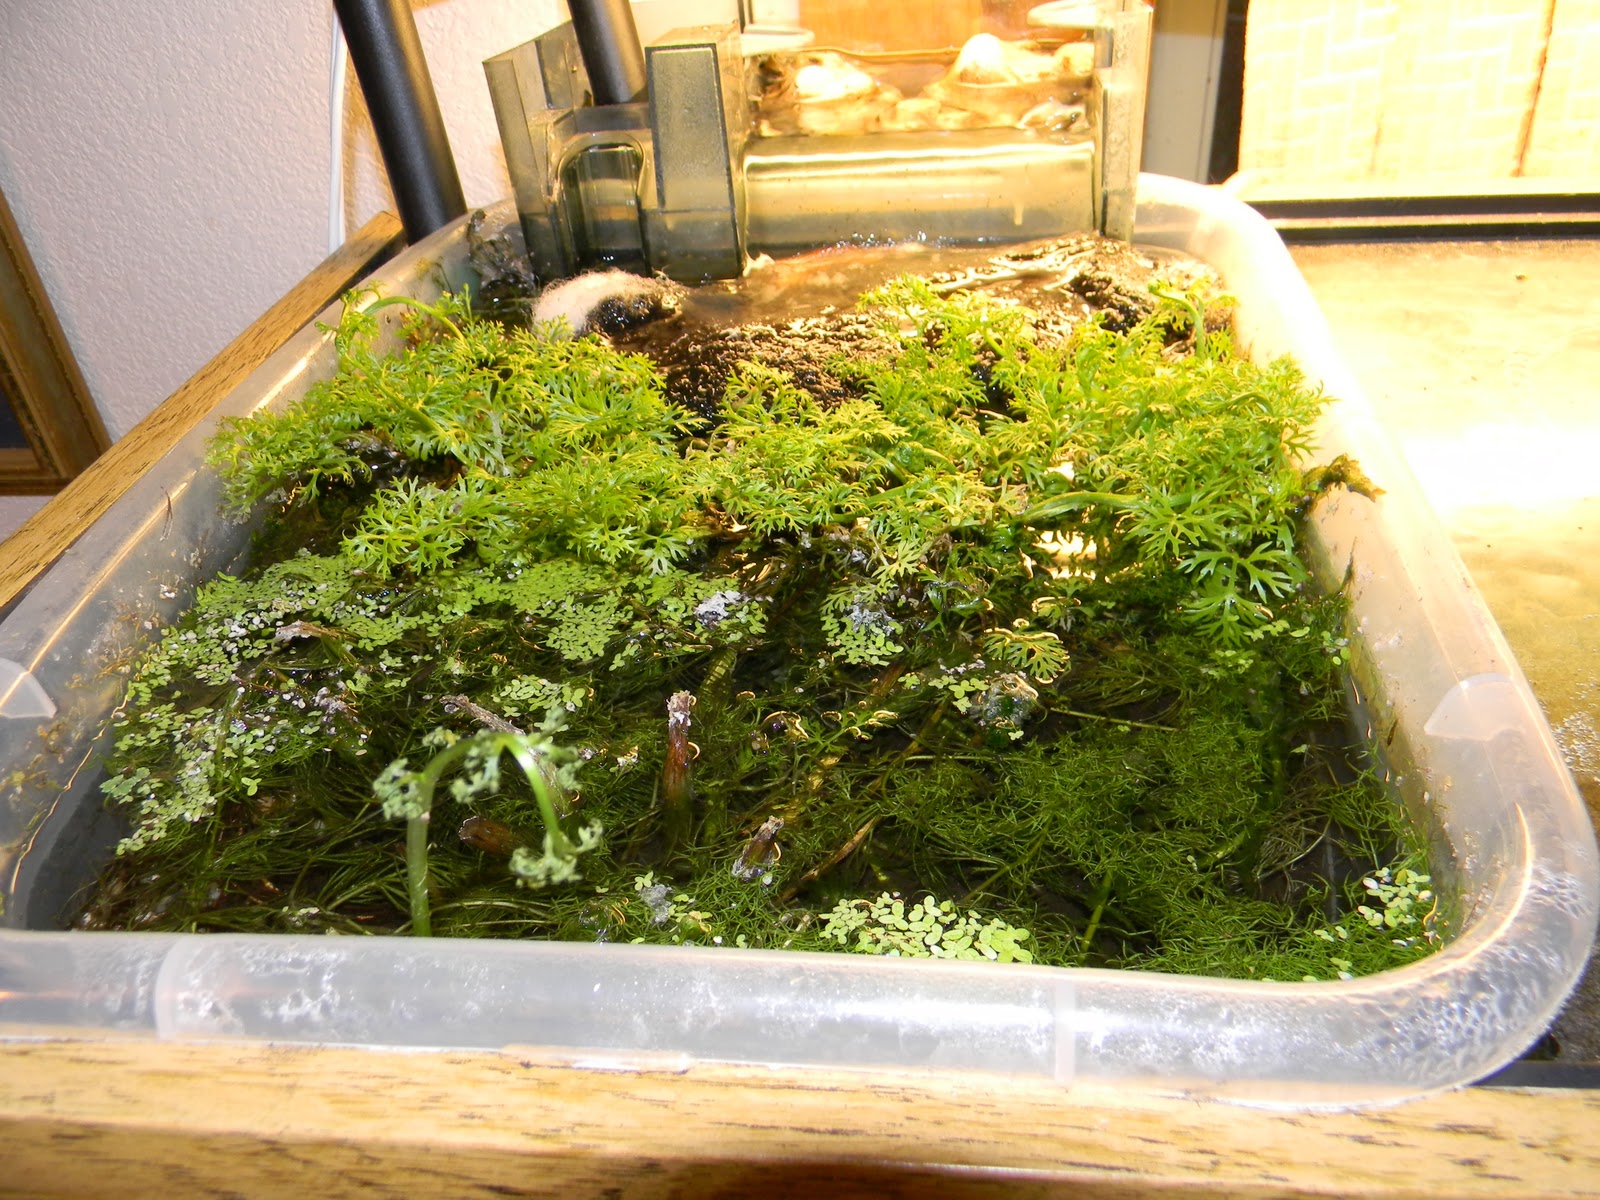
The included media is foam sponge and a fibre mat. This material still smells of the petroleum processing. I thoroughly rinsed it and left it outside in the sun for about 4 weeks to flush it. The new "media" is shown in the first picture. The pump is good, and I believe the 500gph rating. It sits at the bottom of the cannister so it will be self-priming. I modified the intake as shown in the picture to put a "U" pipe on the pump so that the intake is from the bottom of the cannister instead of the middle. This mod is just a 2 0.75" PVC 90 degree joints connected make the U. The input screen then fit onto a pipe I put on the end.
The modified intake is shown here.
I filled the unit 3/4 full with about 400 bio-bullets I got from Jehmco (www.jehmco.com). The bullets are covered by about 2" of the white foam material, and this is covered by the blue fibre mat. I didn't use the included hose or plumbing. This was for my 125gallon tank, and it was already setup with a Pentair Aquatics, Lifegard CustomFlo plumbing system -- I got that from Jehmco. Note, that the hose is 1" ID potable water safe hose I got separately from OSH.
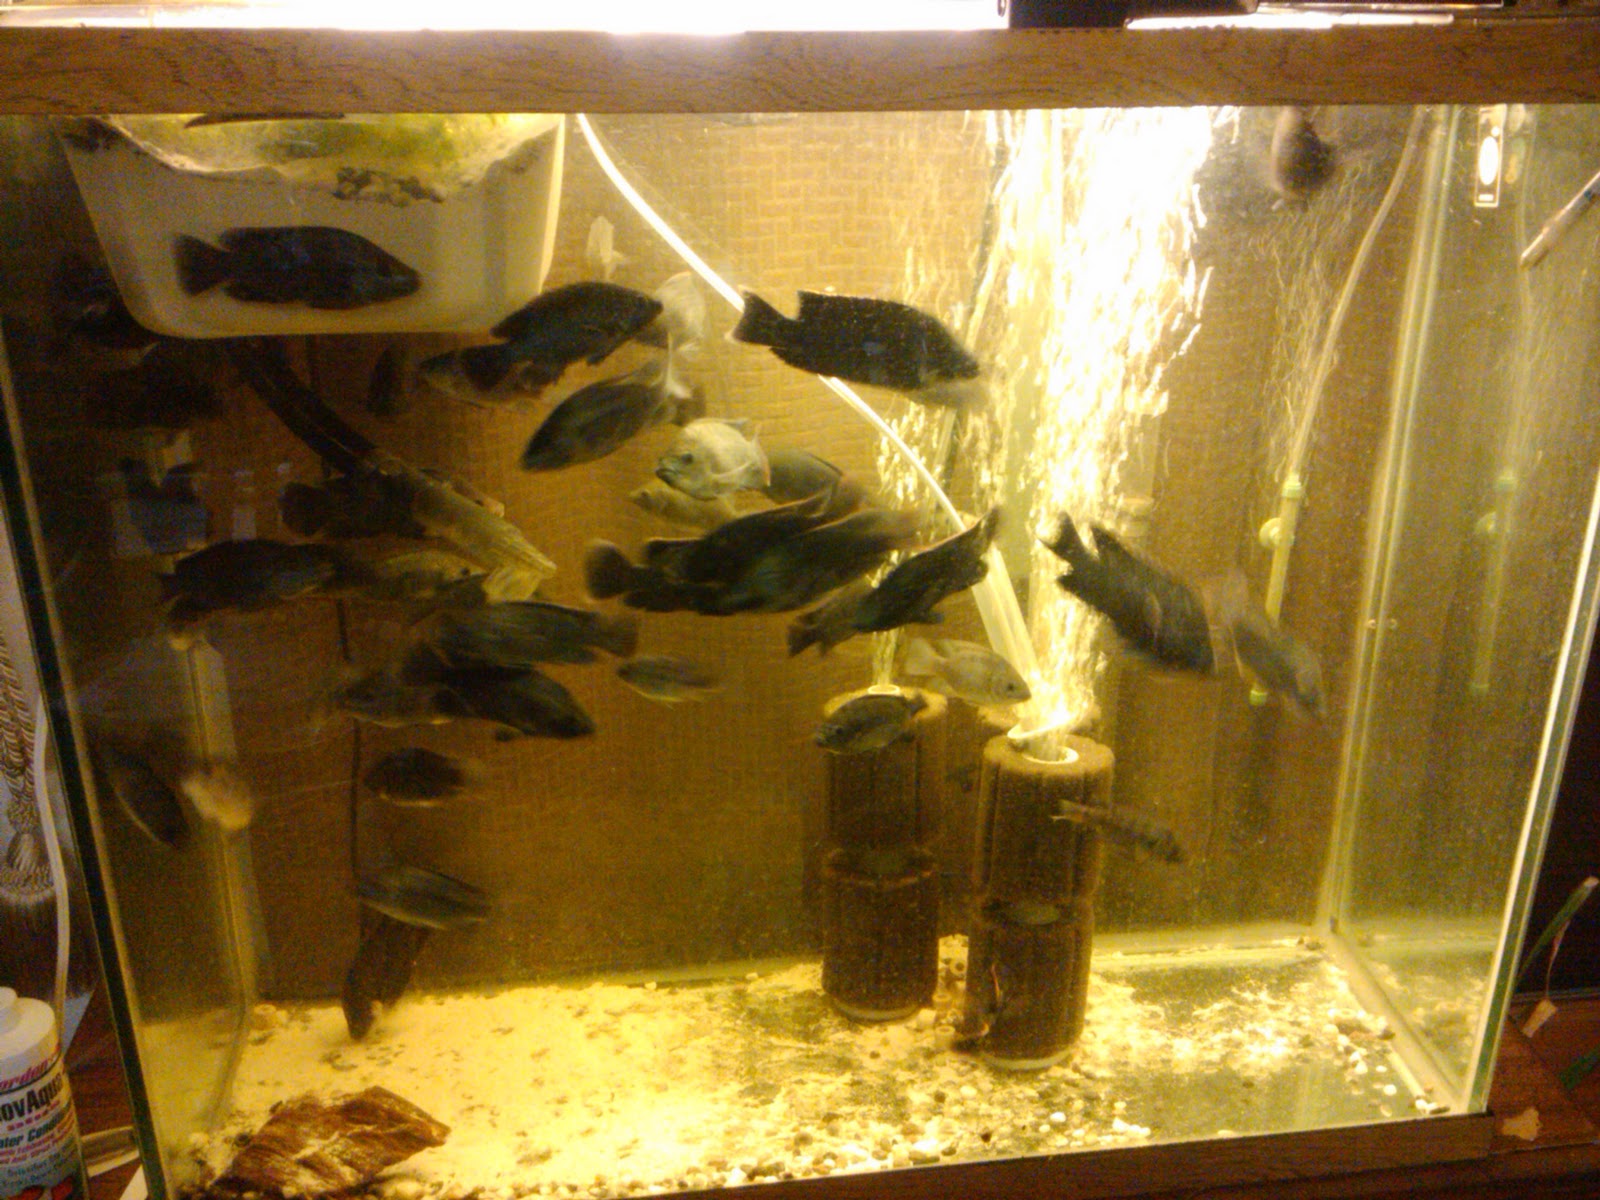
This is a picture of the installed unit. [I know, bad spot for the power strip. I glued it down :-). But, it is protected by a separate GFI.] Those red towers are shutoff valve hose connectors and are quick release. Nice touches but they are fairly light plastic so I think they may be the first things to fail if overused. Note the nicely designed screw down top. It works very well -- that is, it is watertight!
Sunday, February 20, 2011
Tank(s) Update
Quick update on the aquaponics front. Actually, still in the aquarium phase.
Picture 1 is of the refugium with a variety of fresh water plants.
This is working very well. Picture 2 is the result -- the water is very clear and nitrates held at almost zero. Sorry, the little fishies wouldn't hold still for the photo.
Picture 3 is a "hang off the back" purchased refugium I am using on my 125gallon tank.
If you are interested in the purchased refugium, it is a CPR Aquafage Large Class B (Seconds) unit I got from Ebay (Ameka Aquatics).

Picture 4 is of the 125 gallon tank with another 35 or so Tilapia. Also clear water and good chemistry. Note the sand here seems to make them more conducive to reproduce! Note the "holes" they have dug for attracting mates.

Picture 5. Ahhhh. This is a happy mommy in a nursing tank. She has 100+ fingerlings swimming around her.
Note, she is only 5 months old herself! She was from the "sandy tank".
Picture 1 is of the refugium with a variety of fresh water plants.
This is working very well. Picture 2 is the result -- the water is very clear and nitrates held at almost zero. Sorry, the little fishies wouldn't hold still for the photo.

Picture 3 is a "hang off the back" purchased refugium I am using on my 125gallon tank.
If you are interested in the purchased refugium, it is a CPR Aquafage Large Class B (Seconds) unit I got from Ebay (Ameka Aquatics).

Picture 4 is of the 125 gallon tank with another 35 or so Tilapia. Also clear water and good chemistry. Note the sand here seems to make them more conducive to reproduce! Note the "holes" they have dug for attracting mates.

Picture 5. Ahhhh. This is a happy mommy in a nursing tank. She has 100+ fingerlings swimming around her.
Note, she is only 5 months old herself! She was from the "sandy tank".
Tuesday, November 9, 2010
Nitrifying Aquarium Sand Tank
Guess some would call this an above-tank refugium. Explanation: I am working on an aquaponics system. Putting my fingerlings outside during the winter would involve a $55/month heating bill in the aquaponics tank (250 gallon), I decided to raise them indoors in a 70 gallon tank until spring. I do not have any substrate at the bottom of the tank but use 2 Aquaclear top hang-on filters and seaweed. Well, I realized that my system didn't have any anaerobic bacterial location. I liked not having the substrate at the bottom as it made for cleaning the bottom easy. Thus launched this experiment to put the substrate in a carrier on the top of the tank. The carrier is a 11.5" x 15" x 7" plastic bin from Target.

The system is very simple. I have 4" of Aragonite sand in the carrier. There is about 2 cups of coarse river stones on the top. Six 3/8" holes are drilled at the top of one side of the carrier on a downward angle. The carrier sits perfectly on the top lip of my tank (a happy accident). One of the Aquaclear units drains directly into the carrier, and the water then exits from the drain holes. Note, that the feed pipe for the Aquaclear had to be extended with 0.75" tubing to allow it to be curved around the side of the carrier. Also, there is a small length of 0.75" tubing on the input tube as it sits in the Aquaclear -- this allows me to position it when starting to prime the filter. The lid (not shown) is trimmed to allow covering the refugium to minimize water evaporation.
Pictures show the unit in operation as well as the draining action.


1000lb Fish Tank Stand for $120
First, I have to say there are plenty of 2x4 based designs for fish tank stands on the web, and these are very nice and also very strong. I wanted instead to try reinforcing a low cost store bought floor cabinet when I needed a stand for what would be a 1000lb wet weight 120 gallon acrylic tank.


This is the starting unit ($89 at OSH).

As you can see it is only load bearing on the sides. Thus reinforcements would come as an extra vertical board in the center top, 3/4" rear panel, and load distribution legs at the bottom of the center panels. Also, this design has the top surface overhanging the front. So, the modification included redrilling the mounting holes so the the top surface was centered on the cabinet.
Picture of the extra center panel.

Picture of the added rear load bearing wall, and the load bearing legs on the bottom center (cabinet is upside down).

The completed unit doing its job. ~750lbs of water + ~200lbs of sand.

Total cost = $89 cabinet + $16 OSB 4x8x0.75" (center panel and 2x4 were scrap).
Monday, September 20, 2010
Aquaponics Sludge Separator

Monday, September 6, 2010
Growing Beets

Forget about neat rows and regulated spacing. I planted a packet in a 2'x6' (0.7m x 2m) bed by just evenly sprinkling the seeds. Best crop ever. Just trim the big ones out. Neighbor beets get a little stressed at harvest, but they recover. The picture of the bed shows a little stress an hour after a harvest (had done 4 large harvests already).
How I cook my beets: cut root hairs from beet; wash and clean leaves. Cut stems off 2mm at beet and put aside. Cut the beets into 2mm slices.
Tenderize shredded onions in a 5-6L/Qt pan. Add crushed garlic. Add about 3 cups of water and when boiling add the sliced beets. Add about 1/4teaspoon of termeric. Add a 1/2 teaspoon of ground corriander and 1/2 teaspoon of ground dried maldive fish. Boil covered on medium for about 15-20 minutes or until the beets are tender but not mushy. While the beets are boiling, cut a few cm of the bottom of the beet leaves (where they joined the beet) and discard. You can use these if the beets were small or young. Cut the rest of the stems and leaves into 4cm or 2" lengths. After the beets have tenderized, add the stem/leaf sections to the pan and boil another 5 minutes until they limp. Gently stir the whole pot and you're done.
This goes superbly as a pair to a meat curry and lemon rice.


Tuesday, January 19, 2010
Multi Head Video
This is slightly late posting. I did this the fall of 2009.

It has been easy to create dual head video displays with dual output video cards. With Matrox multi-head products it is now easy to create triple and quad-head displays and have some really effective display stretching effects to increase efficiency for investment screening, CAD, even regular internet research.
This project was to create such a triple head mount for under $50. The monitors and head driver (Matrox DualHead2Go, digital edition) are costed separately.
I used two monitor wall mounts ($15 ea) welded to 3/4" metal pipe repair clamps ($1.50 ea). These were mounted on a vertical tower made up of 3/4" black pipe and fittings, screwed down to an old wooden shelf acting as my base.
For a triple head setup (done here), you need a dual drive video card. One output is used directly to drive your primary monitor. The second output is used to drive the Matrox unit which, in turn, drives your two other monitors. For a quad-head drive each video card output will drive a Matrox unit which will, in turn, drive two monitors. Note, that my setup has my two additional monitors mounted vertically. For use in gaming or video, it is better to have the extra monitors horizontally aligned. This would work best with a quad head. The reason is that
the Matrox drivers will split the video that goes to the monitors. It will 'cohesively' split horizontally, but not vertically. Picture displaying your excel sheet on two horizontal monitors. Matrox will take care of this -- doesn't work for two monitors that are vertical.
The pictures show: the Matrox unit, the display mount, same welded onto the pipe clamps, the vertical tower, rear view of displays mounted to same, and the setup in action. Note the change to the PC.
Subscribe to:
Posts (Atom)